Online Training Manual for LG Products - Steam Generator Heater
The TSG (Turbo Steam Generator) is supplied as an assembly only; parts like the sensors, thermistor, or heater cannot be replaced individually. Diagnosis is limited to determining a malfunction and replacing the assembly. The steam generator does not have to be removed from the machine to be drained. Be sure to let the water cool to avoid a burn. Have a hose available to slip onto the connector and a large towel to catch the water so it doesn’t run down into the machine cabinet. If you remove the steam generator before draining it, be sure to avoid tipping it and spilling the water.
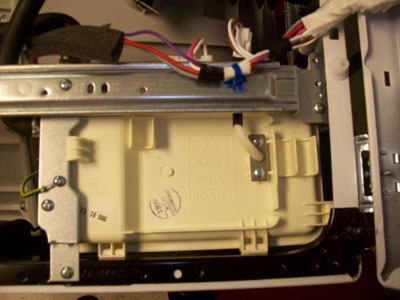 |
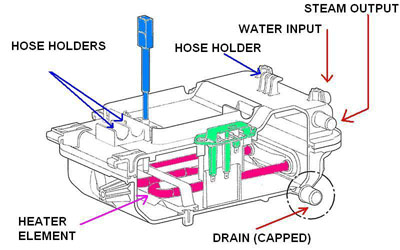
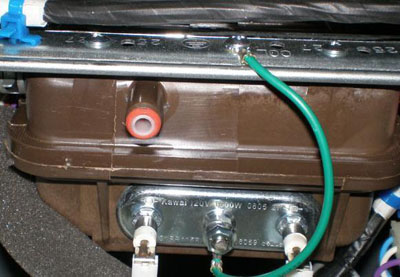
The steam generator has two water connections: water IN and steam OUT. The water is supplied by one of the solenoids on the cold water input valve array. The steam from the generator is directed through a rubber hose to a nozzle at the top of the door gasket, where it sprays out through the laundry as it tumbles.
The electrical connections include 120 VAC to power the heater, ground, water level, and temperature sensors.
|
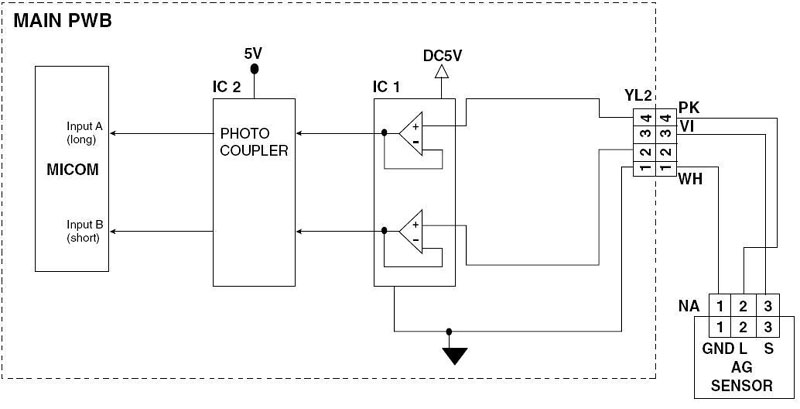
The electrical components can be tested with the generator in the machine. Unplug the heater and check the resistance across the leads. It should be 15 ohms ± 20%. It can also be checked at its connector on the main board. The voltage can be checked either at the terminals of the heater or at its connector on the main board. There is a test in the TEST MODE that supplies power to the heater briefly. Have your meter connected before pushing the button. (Or connect the machine through a Kill-A-Watt or similar meter.) Water level sensor testing is detailed in the next section, below.
 |
The steam generator can be removed as an assembly for diagnosis and replacement or tested in place.
Unplug the washer.
Disconnect all electrical connections, including ground.
Drain the water. (You can drain the water after removal from the washer and it is easier.) Be careful in case the water in it is still very hot.
|
 |
Remove all the cable straps by squeezing the tabs and pulling them out. They can be reused.
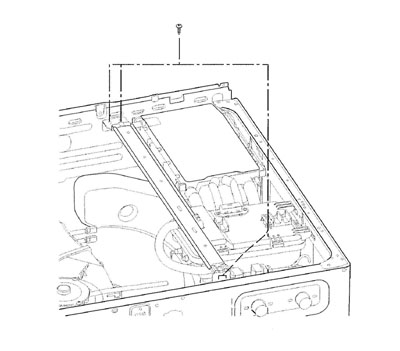
Remove the four screws holding the support rail in place and two screws attaching the steam generator.
Disconnect the hoses (water input and steam output.) See the next page for a warning concerning the check valve built into the input hose.
|
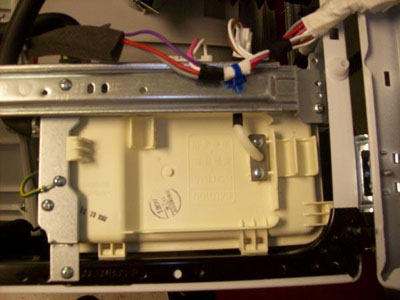 |
Push the steam generator toward the back of the washer to release it from the side rail. You can then remove it for draining, inspection, and replacement.
It is available as an assembly only and is not repairable.
|
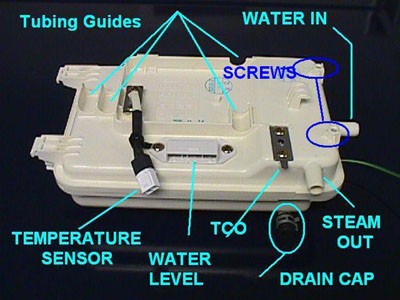 |
When the Turbo Steam Generator is installed in the washer, the hoses to the dispenser should fit into the tubing guides.
|
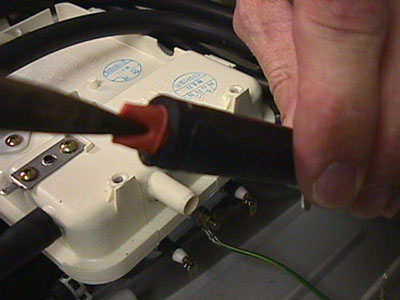 |
Be especially cautious when removing and replacing the water input hose to the steam generator. There is a check valve that fits into the input port. The valve usually comes off and remains stuck in the hose. This could cause the water not to flow, which would cause the steam generator to fail.
|
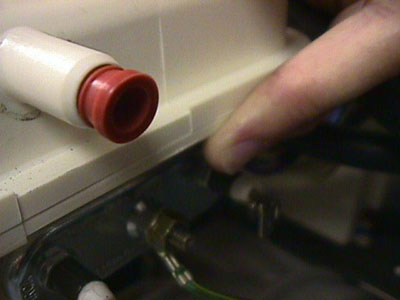 |
Pull the check valve out of the hose gently and replace it into the water input port. Then slide the hose onto the port and install the clamp.
|
 |
Newer models have a retainer built into the check valve to eliminate this issue.
|
Questions? Comments! Concerns? Report an error?
Let us know!
An e-mail should solve the problem.


