Remove the control panel and top cover and set them aside.
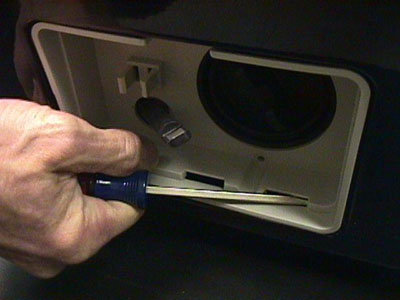
Open the filter and drain cover.
Remove the screw securing the cover and pry the cover out with a screwdriver or putty knife. Be careful to avoid damaging the rim of the opening.
 |
Remove the control panel and top cover and set them aside. Open the filter and drain cover. Remove the screw securing the cover and pry the cover out with a screwdriver or putty knife. Be careful to avoid damaging the rim of the opening. |
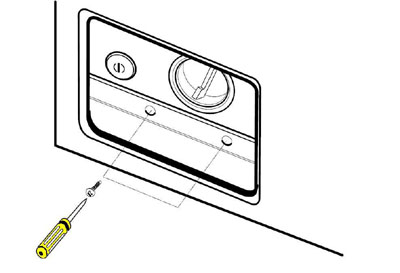 |
With the filter cover removed, remove the screw(s) that secure the base of the front cover to the machine frame. NOTE: On older machines, these are usually rusted and difficult to remove. Some servicers tend to leave out when re-assembling the machine. If the screws are missing, the machine front will probably rattle. |
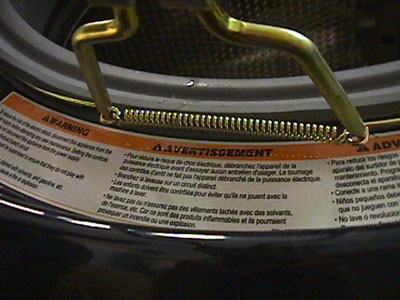 |
Remove the door gasket using special tool 383EER4001A to remove the outer spring clamp. (Click SPECIAL TOOLS on the main WASHER menu.) Order Here! |
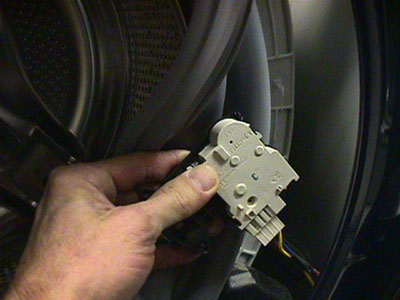 |
After removing the door gasket, you can reach inside the cabinet and unplug the electrical connector to the door switch. If you are replacing the door switch, you can do it without any disassembly other than the door gasket. Remove the two screws that hold the switch in place, pull it out through the opening, and replace it. |
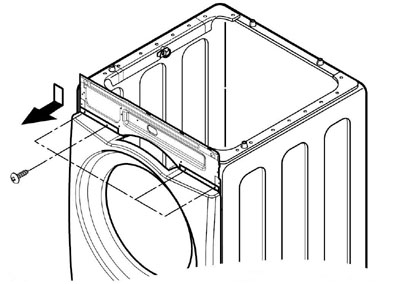 |
Remove the screws that secure the top of the front cover. Be careful that the front does not fall forward, causing injury or damage. (The number of screws may vary, depending upon the model number and whether the machine has been serviced before.) |
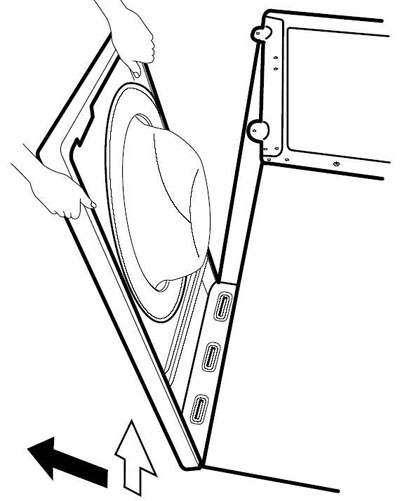 |
Lift the front cover off the tabs at the bottom of the machine. Set it aside face down on a blanket or protective surface. CAUTION! The door is very heavy because of the large glass window. |
Questions? Comments! Concerns? Report an error? Let us know! An e-mail should solve the problem.