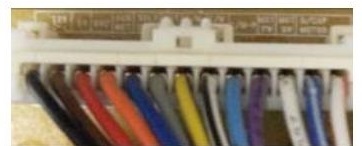
Check CONNECTOR 2 on the DISPENSER. Reconnect if necessary. Check for bent or missing pins and broken crimps.


 |
Check CONNECTOR 2 on the DISPENSER. Reconnect if necessary. Check for bent or missing pins and broken crimps. |
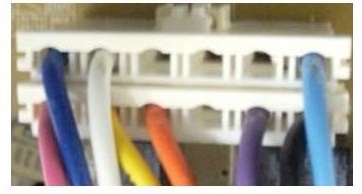 |
Check CONNECTOR 3 on the MAIN BOARD. Reconnect if necessary. Check for bent or missing pins and broken crimps. |
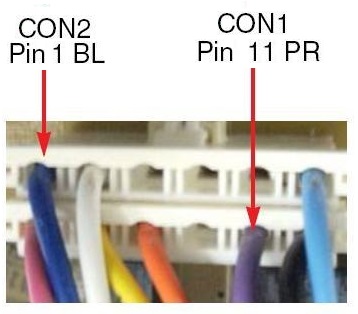 |
In the WATER MODE, check the voltage across pins 1 and 11 of CONNECTOR 2 on the DISPENSER BOARD. It should read 0 VAC in the stand-by mode and 120 VAC when the dispenser lever is pressed. If not, replace the dispenser board. |
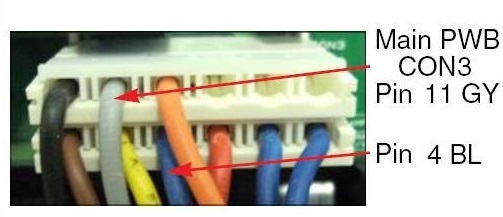 |
In the WATER MODE, check the voltage across pins 4 and 11 of CONNECTOR 3 on the MAIN BOARD. It should read 0 VAC in the stand-by mode and 120 VAC when the dispenser lever is pressed. If not, replace the valve. |
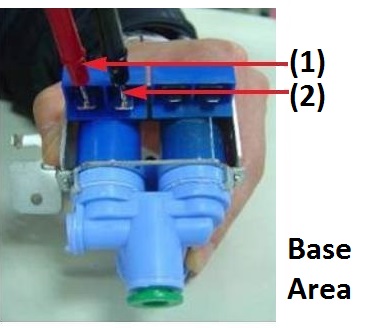 |
With the refrigerator unplugged,read the resistance across the FIRST WATER VALVE terminals (in the base of the machine). It should be between 360 and 420 ohms. If it is out of specification, replace the valve. If the valve is part of a multiple valve array, replace the entire array. |
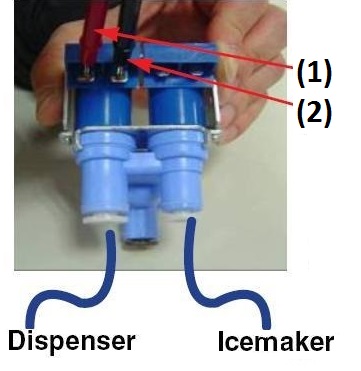 |
With the refrigerator unplugged, read the resistance across the SECOND WATER VALVE terminals (in the door of the machine). It should be between 360 and 420 ohms. If it is out of specification, replace the valve. If the valve is part of a multiple valve array, replace the entire array. |
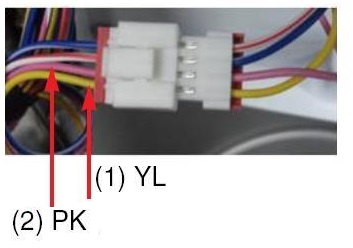 |
At the connector to the dispenser switch, check the resistance across terminals 1 and 2 (yellow and pink) of the dispenser switch. It should read INFINITY in the standby mode and 0 ohms in the pressed or operating position. |
Questions? Comments! Concerns? Report an error?
Let us know!
An e-mail should solve the problem.