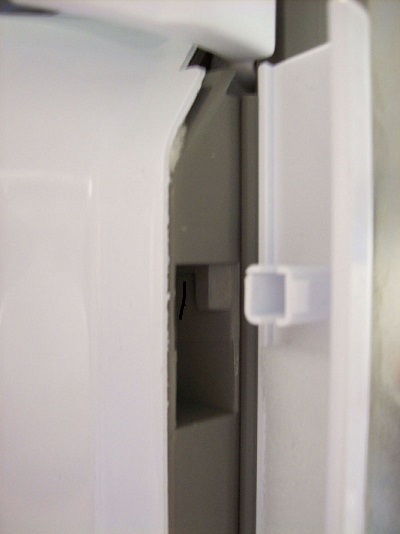
Remove the gasket bracket clips. There are two clips per door. Start the bracket removal near one of the clips.
 |
Remove the door frame cover. Starting at the top of the cover and working down, snap the cover out and away from the door.
Remove the gasket bracket clips. There are two clips per door. Start the bracket removal near one of the clips. |
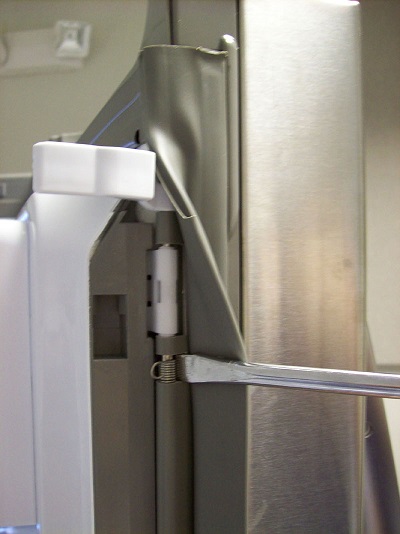 |
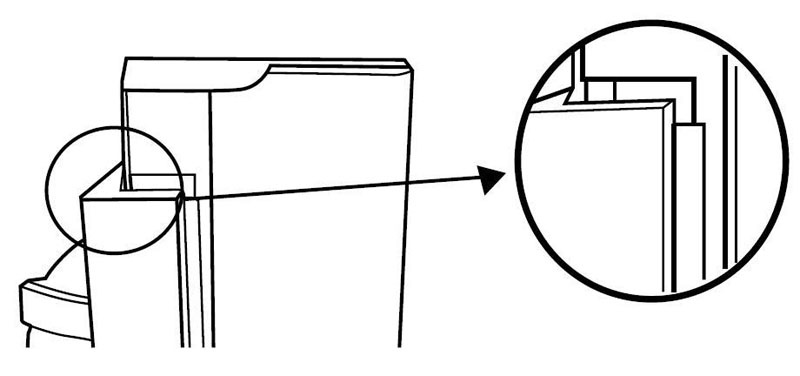
Pull the gasket back to expose the clip and the door frame.
Insert a flat-tipped screwdriver into the seam between the gasket and the door frame and pry back until the clip snaps back. Continue prying back along the seam until all the clips snap out. |
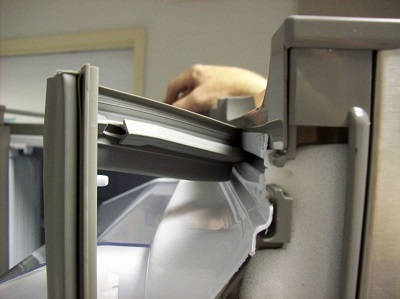 |
Pull the gasket free from the channel along the edge of the door. Donít pull at the corners to avoid tearing the seams. |
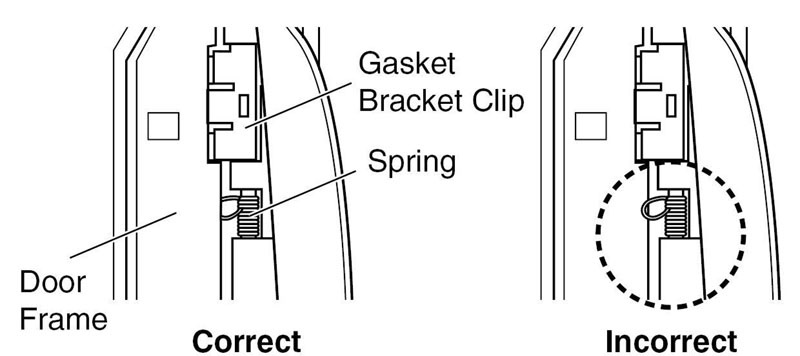
Insert the gasket bracket clips beneath the door frame edge.
Turn the upper gasket bracket spring so the spring ends are in the door channel.
Push the clip until you hear it snap securely into place.
Push the remaining clip until you hear it snap securely into place.
Snap the gasket into the door bracket.
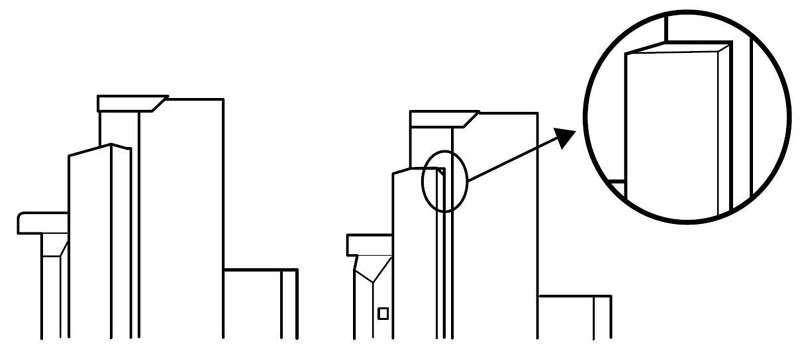
Be sure it is aligned properly. The alignment is incorrect in this drawing.
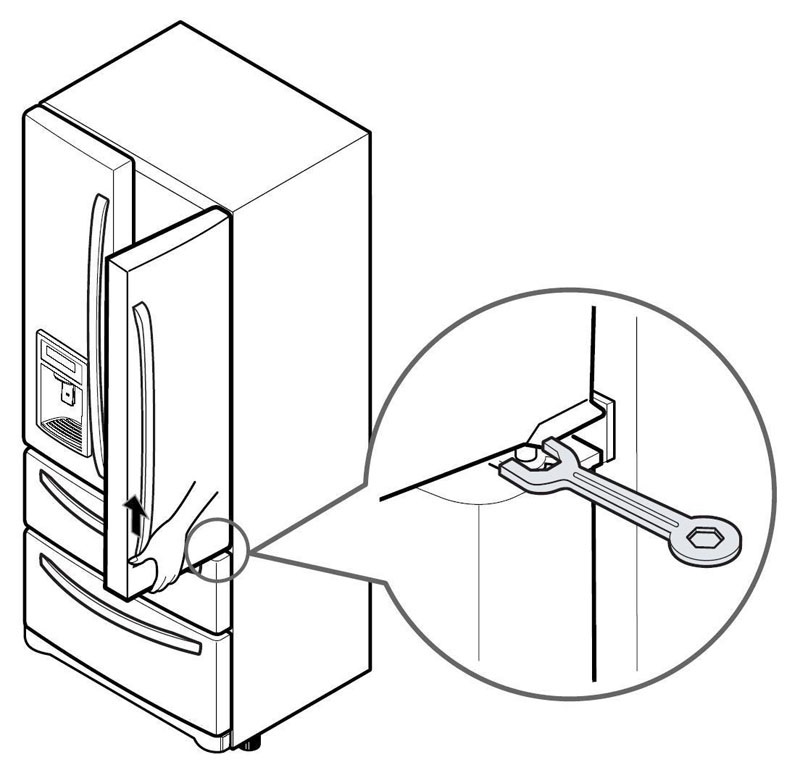 |
If the space between the doors is uneven, remove the kick plate and adjust the leveling legs. Turn the legs with a screwdriver or an 11/32Ē wrench.
Use the small wrench (included with the instruction manual) to adjust the bolt in the door hinge. |
|
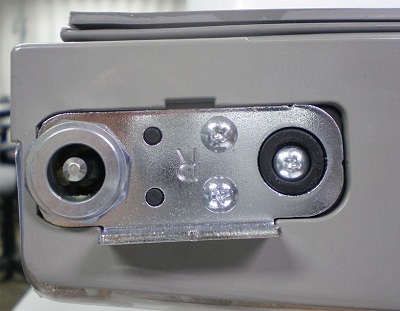
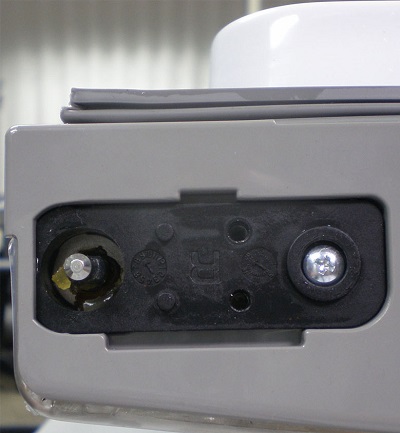
The refrigerator doors have automatic closing mechanisms built into the hinge.
To remove it, remove the two screws on the base plate of the hinge.
(The right hinge is shown; the left is similar.) |
|
Remove the screw that holds the hinge in the door. If there is grease on it, leave it there. It ia a food-grade grease and non-toxic. |
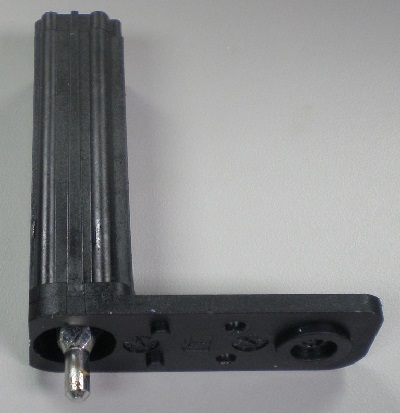 |
Pull the hinge mechanism out of the door. Replacement is the opposite of these steps. |
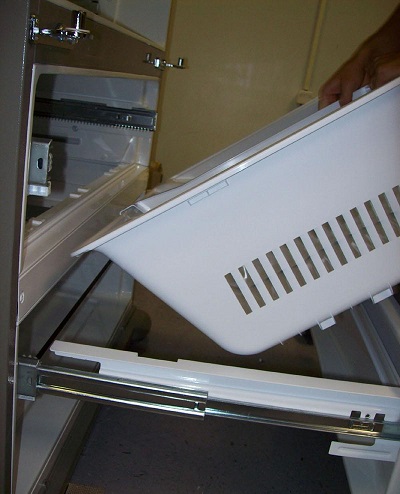 |
Open the drawers (one at a time) and remove the bins or baskets. DO NOT REMOVE the center bar. It included refrigerant lines and generally cannot be repaired when damaged. |

|
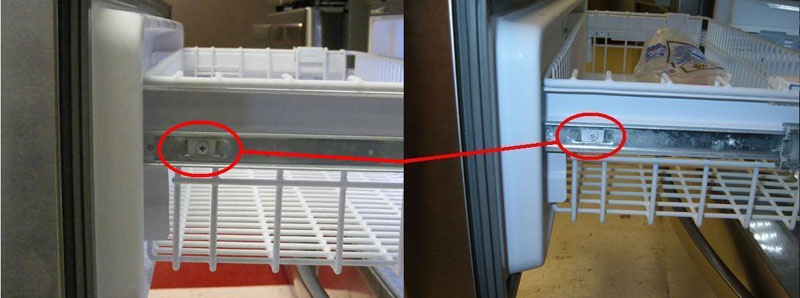
Remove the two screws from the guide rails (one from each side.) |
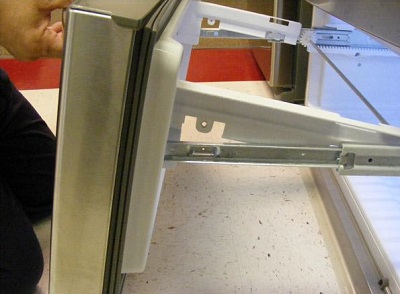 |
Lift the freezer door up to unhook it from the rail support and remove.
Remove the gear from the left side first by releasing the tab behind the gear, place a screwdriver between the gear and the tab and pull up on the gear. Pull both rails to full extension. Remove the center rail. Remove the gear from the right side by following the same steps for the left side. |
THIS TAB MUST BE PUSHED IN TO RELEASE THE GEAR.

Reinstall the right side gear into the clip.

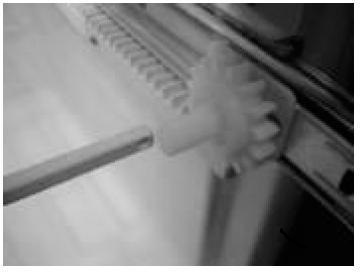 |
Insert the rail into the right side gear. The gears do not need to be perpendicular to each other. |
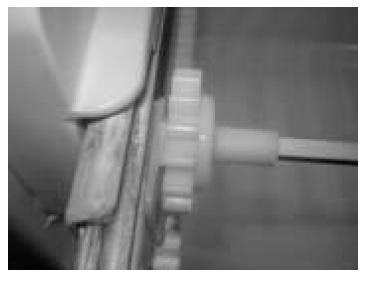 |
Insert the rail into the left side gear, and insert the gear into the clip. |
Pull the rails back out to full extension.
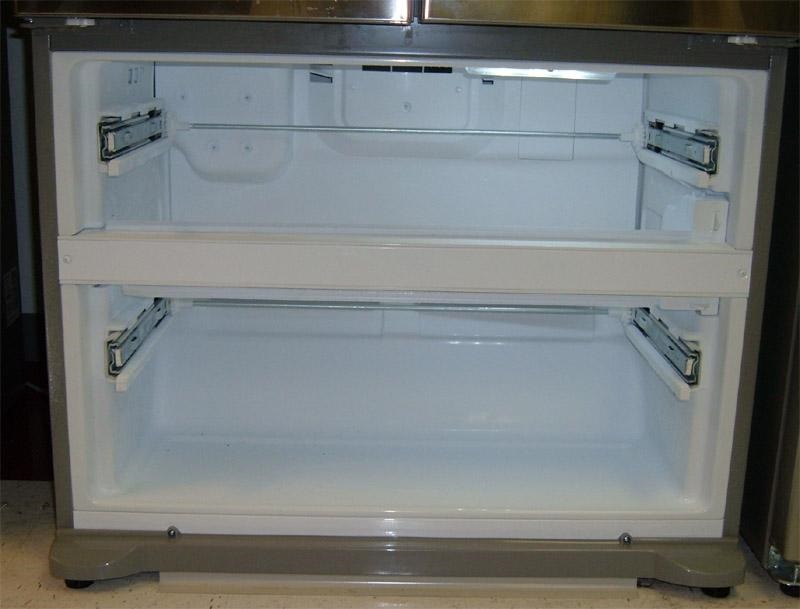
The rail system will align itself when the rails are pushed all the way into the freezer section.
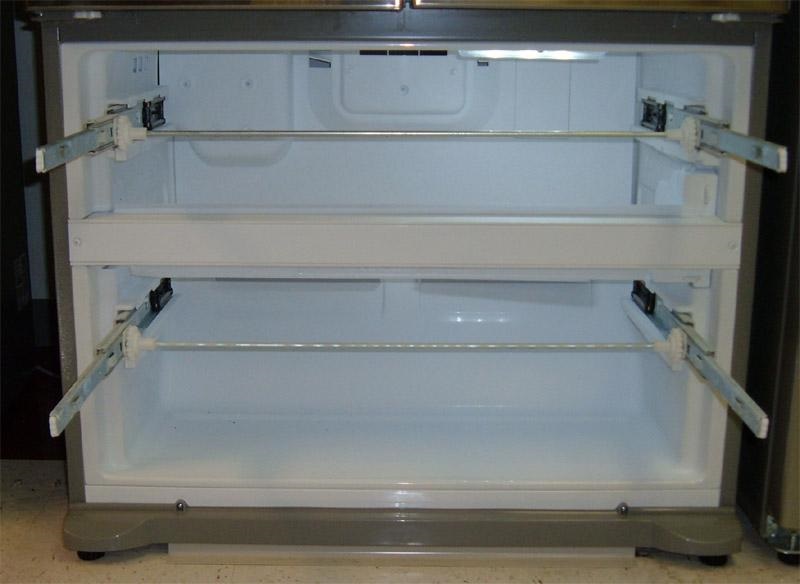
Reinstall the freezer door by inserting the rail tabs into the guide rail.

Reinstall the two screws into the guide rails (one on each side).
Reinstall the lower basket, and close the freezer door.

Questions? Comments! Concerns? Report an error?
Let us know!
An e-mail should solve the problem.