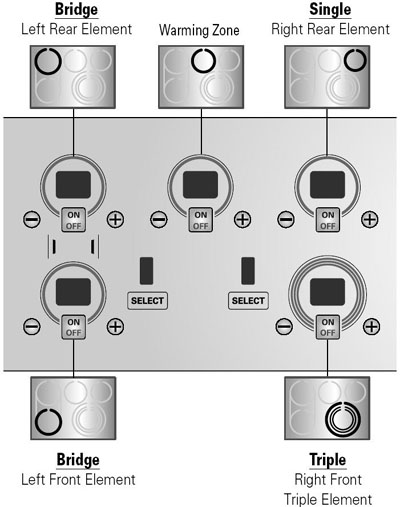
Notice that the LEFT FRONT control also operates the bridge element.
The SELECT pad next to the control allows the user to select between the FRONT / BRIDGE / REAR in combination and the LEFT FRONT.
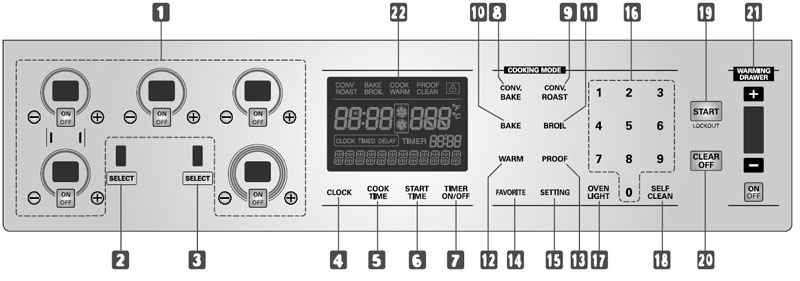
1. COOKTOP CONTROL |
14. FAVORITE – A user selection 15. SETTING – Selects custom settings. (See page 14.) 16. NUMBER PADS – Enter time and temperature 17. OVEN LIGHT – Turns light on/off. 18. SELF CLEAN – Cleans the oven 19. START – Initiates all oven functions and oven lockout. 20. CLEAR OFF – Stops functions, cancels entries 21. WARMING DRAWER – Controls the warming drawer. 22. DISPLAY AREA – Shows the time of day, oven temperature, functions, and modes. F-Codes – A failure code (See page 53.) HS – Hot Surface PF – Power Failure |

|
The surface element controls are laid out in the same configuration as the elements to make them intuitive to use. Notice that the LEFT FRONT control also operates the bridge element. The SELECT pad next to the control allows the user to select between the FRONT / BRIDGE / REAR in combination and the LEFT FRONT. |
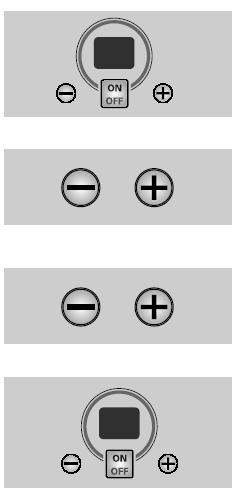 |
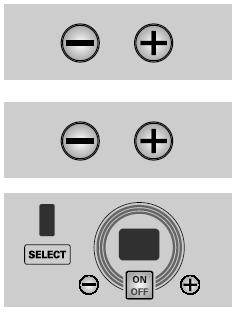
To operate a surface element, touch ON / OFF for that element.
The display will flash - -. Touch + once for HIGH, or Touch – once for LOW. You can touch + or – to adjust the heat up or down anytime the element is on. Touch ON / OFF once to turn the element off. |
 |
To operate the triple surface element, touch ON / OFF for that element. The display will flash - - . Touch SELECT to cycle through the selections of INNER, MIDDLE, and OUTER elements. |
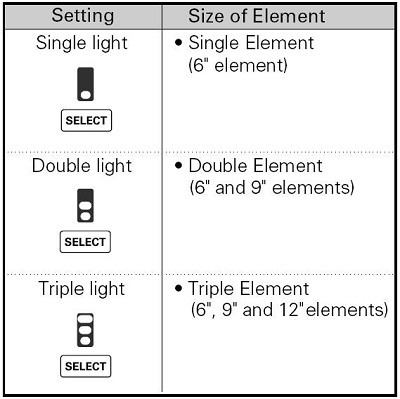 |
The SELECT display will show: Inner element only Inner and middle elements Inner, middle, and outer elements |
|
Touch + once for HIGH, or Touch – once for LOW. You can touch + or – to adjust the heat up or down anytime the element is on. Touch ON / OFF once to turn the element off. The power level is adjusted up or down by touching + or – . The level increments or decrements by 0.5 between 3.0 and 9.0. Between 1.0 and 3.0, the interval is 0.2 instead of 0.5. LO is the lowest power level available. HS indicates a Hot Surface. PF indicates a Power Failure. |
|
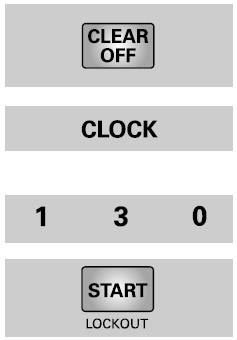
Touch CLEAR. Touch CLOCK. Touch the NUMBER PADS to set the correct time. Touch START. |
|
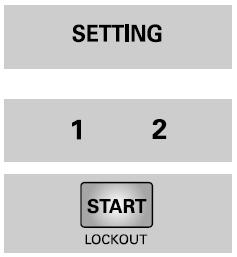
This feature will automatically convert regular baking temperatures for convection baking. Touch SETTING. Touch 1 (Enable) or 2 (Disable). Touch START. |
|
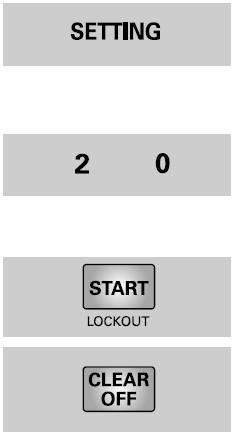
If the oven appears to be too hot or cool compared to the expected baking results, the temperature can be adjusted ± 35° F (± 17° C) to compensate. Touch SETTING twice. Touch the NUMBER PADS to input the desired adjustment. (Touch SETTING again to input a negative adjustment.) Touch START, then touch CLEAR. |
 |
Touch SETTING three times. Touch 1 (English) or 2 (Spanish). Touch START to input the change. |
|
Touch SETTING four times. Touch 1 (ON) or 2 (OFF). Touch START to input the change. |
 |
Touch SETTING five times. Touch 1 (LOUD), 2 (NORMAL), 3 LOW, or 4 (MUTE). Touch START to input the change. |
 |
Touch SETTING six times. Touch 1 (° FAHRENHEIT) or 2 (° CELSIUS). Touch START to input the change. |
Questions? Comments! Concerns? Report an error?
Let us know!
An e-mail should solve the problem.