Remove all wiring connections.
Check carefully for ground wire connections (screw and ring connector.)
Remove all hose connections.
Remove the sump holder rings (2) and screws.
Use a new gasket if you remove or replace the sump assembly.
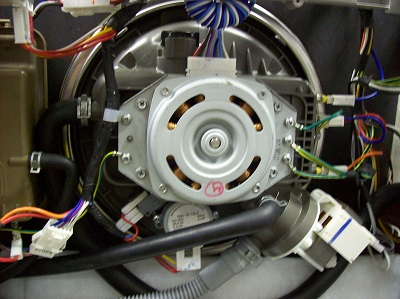
The noise filter is attached to the inside of the base on the right side of the dishwasher by one screw.
Remove the screw; then, pry the noise filter from its clips in the base.
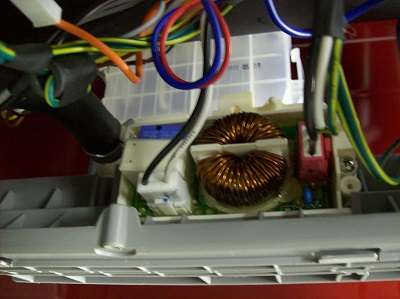
The float switches are on the right side of the dishwasher just above the base.
Remove the wiring connectors before detaching the float switch assembly.
It is a good idea to mark the switches to be sure they are reconnected correctly.
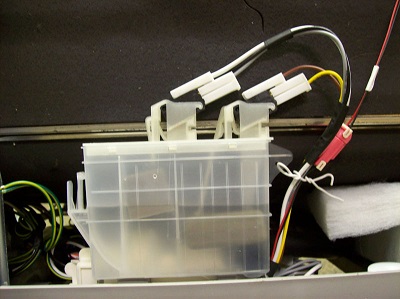
The float switches can be removed without removing the assembly from the dishwasher. This allows replacement of the electrical switches and / or the part that holds the switches.
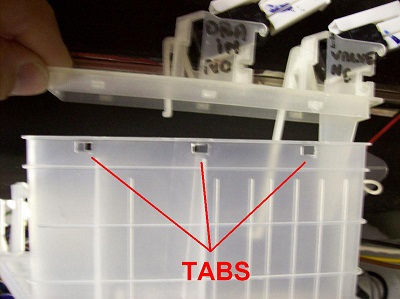
Press the tabs with a driver and lift the top of the switch assembly away from the body.
Remove the screws (8) that secure the base to the dishwasher.
All the wiring connections and hoses should have been removed already. Remember, the hoses stay with the sump at this point.
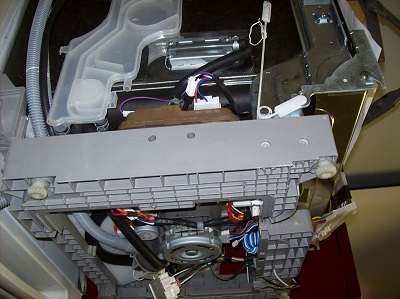
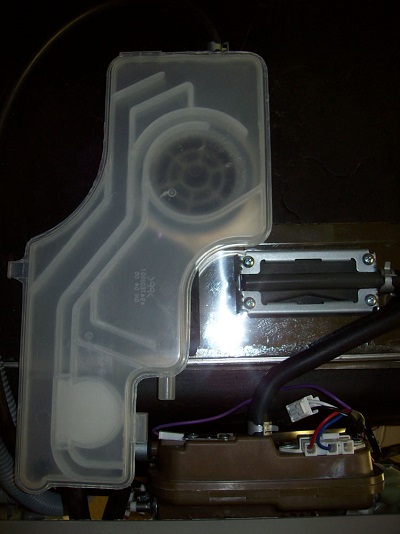
The steam generator is mounted on the left side of the dishwasher.
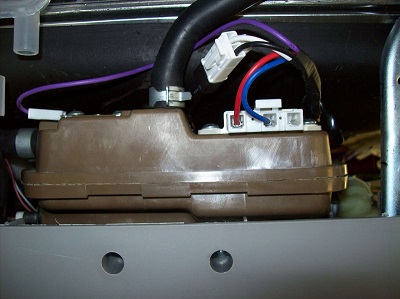
Disconnect the wiring to the thermistor, the low water sensor, and the high water sensor.
Remove the hose clamps. There are two; one for the input and one to deliver steam to the tub.
Remove the screws (2) and lift the steam generator out of the base.
Be careful, in case the water in it is HOT!
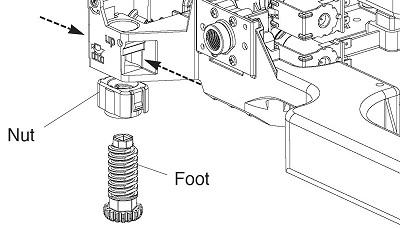
The front adjustment legs can be turned by pliers or a screwdriver at the bottom, or by a ¼” drive ratchet from above.
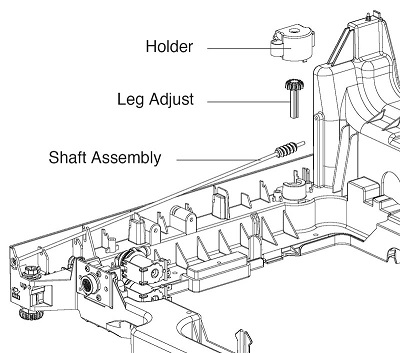
The rear legs can be adjusted by using a Phillips screwdriver to turn the adjustment shaft which raises or lowers the rear leg. (See pages 7 and 8.)
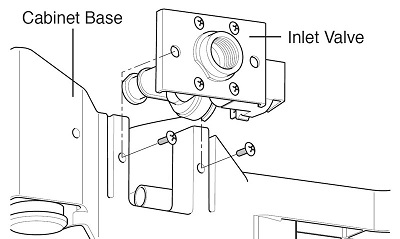
The inlet valve is an electromechanical double valve that controls water input to the dishwasher.
Remove the screws (2) that hold the valve to the base of the dishwasher.
Release the clamps (2) that secure the hoses to the valve.
Release the clamps (3) that secure the hoses to the air breaker.
Inside the tub, turn the air breaker vent counterclockwise. Be careful to avoid damaging the O-ring seal.
Questions? Comments! Concerns? Report an error?
Let us know!
An e-mail should solve the problem.